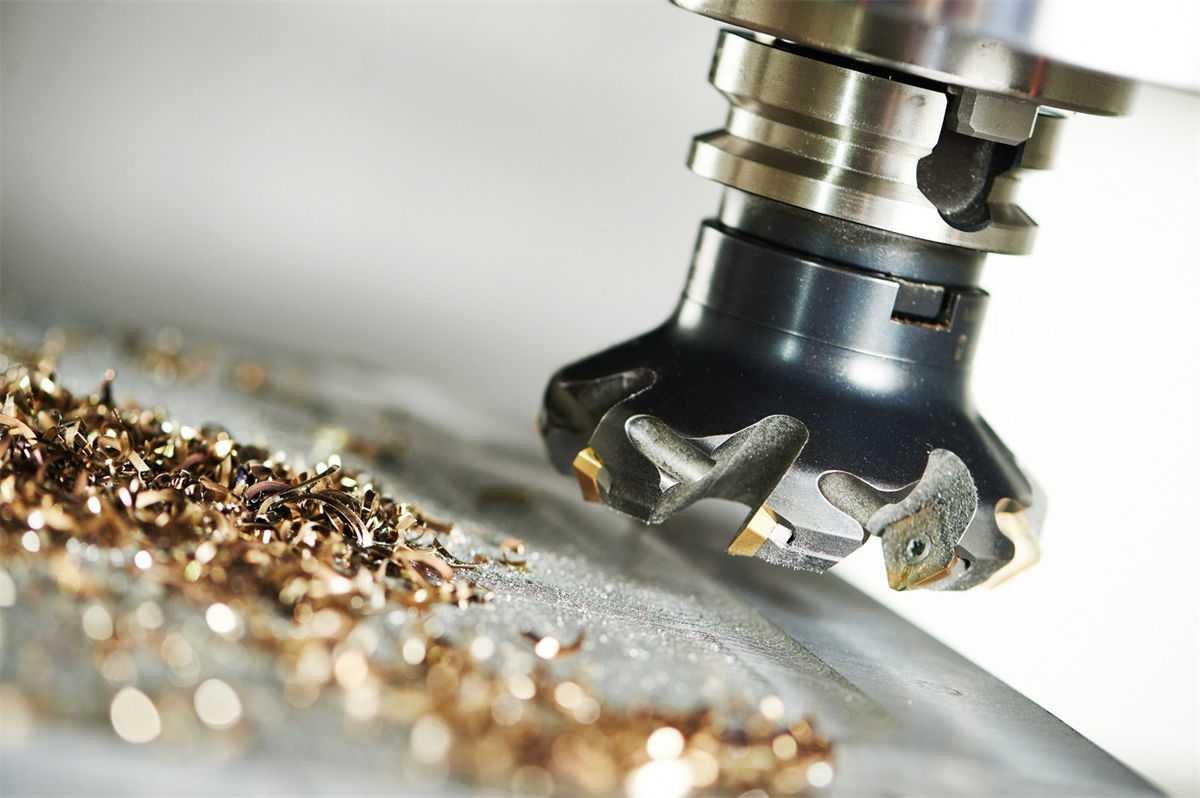
Ever tried to get something perfect only to be thrown off by a tiny miscalculation? That’s backlash in milling machines for you!
Backlash is the small, unintended movement that occurs in the transmission system of a milling machine when changing directions. It affects the accuracy and surface finish of machined parts, making it crucial to address in precision tasks.
But wait! Understanding what backlash is merely scratches the surface. Let’s dive deeper into its effects on machining accuracy and how we can tackle it head-on.
Backlash affects surface quality in milling machines.True
Backlash causes tool vibrations, leading to chatter marks and reduced surface quality.
How Does Backlash Affect Dimensional Accuracy?
Precision in milling relies heavily on minimizing backlash to ensure dimensional accuracy.
Backlash affects dimensional accuracy by introducing deviations in the starting positions during directional changes, impacting the precision of linear dimensions and hole-spacing.
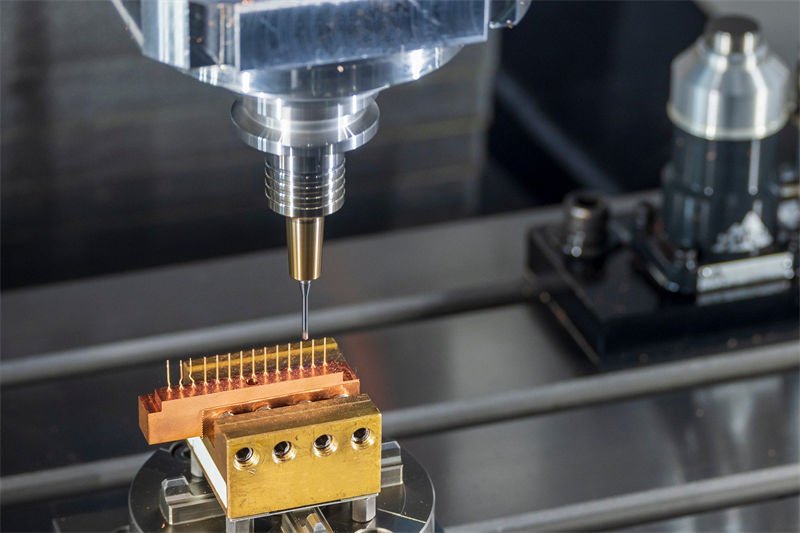
Understanding Backlash in Milling Machines
In the intricate world of milling, backlash1 represents a critical obstacle to achieving precise dimensions. It refers to the slight, unintended movement within a machine’s transmission system when the direction is reversed. This movement can lead to inaccuracies in machining, particularly when precise measurements are paramount.
Impact on Linear Dimensions
When a milling machine experiences backlash, it can cause significant deviations in linear dimensions. For example, during the milling of a long, straight groove, the worktable moves first in one direction and then in the reverse. Due to backlash, the tool’s starting position shifts slightly backward, resulting in dimension errors. If left uncompensated, this can lead to discrepancies in the width or length of machined parts.
| Milling Task | Impact of Backlash |
|---|---|
| Straight Groove | Deviations in groove width or length |
| Stepped Shafts | Inaccurate step lengths or diameters |
Effect on Hole-Spacing Accuracy
In tasks where multiple holes must be precisely spaced, such as in CNC milling, backlash introduces errors that affect the distance between these holes. As the tool moves from one hole to another, any change in direction causes deviations from the intended spacing. This misalignment results in holes that fail to meet design specifications.
Influence on Shape Accuracy
Complex shapes, such as curves or circles, are particularly susceptible to backlash. These shapes require frequent direction changes. Each reversal brings a small shift that can accumulate over the machining process, leading to contour deformation. For instance, an intended circular path might turn polygonal due to these tiny discrepancies.
Surface Quality and Backlash
Backlash doesn’t only impact dimensional accuracy; it also affects surface quality. When direction changes cause positional jumps of the cutting tool, it alters the cutting thickness unpredictably. This change induces variations in cutting force, leading to vibrations that mar the surface with chatter marks, decreasing surface roughness.
The effects on surface quality are particularly pronounced in high-precision machining environments where even minor variations can impact the final product’s performance and lifespan.
By recognizing how backlash influences both dimensional and surface quality, machinists can employ various techniques to mitigate its effects and maintain high standards of precision.
Backlash affects groove width accuracy.True
Backlash causes deviations in groove dimensions during milling.
Backlash improves surface quality in milling.False
Backlash induces vibrations, worsening surface quality by causing chatter.
What Are the Causes of Backlash in Milling Machines?
Understanding the root causes of backlash in milling machines is essential for improving machining precision and efficiency.
Backlash in milling machines arises from mechanical inaccuracies, component wear, and assembly imperfections. Key contributors include misalignment of the lead-screw and nut, wear on transmission parts, and poor assembly practices, leading to undesired movement and machining errors.
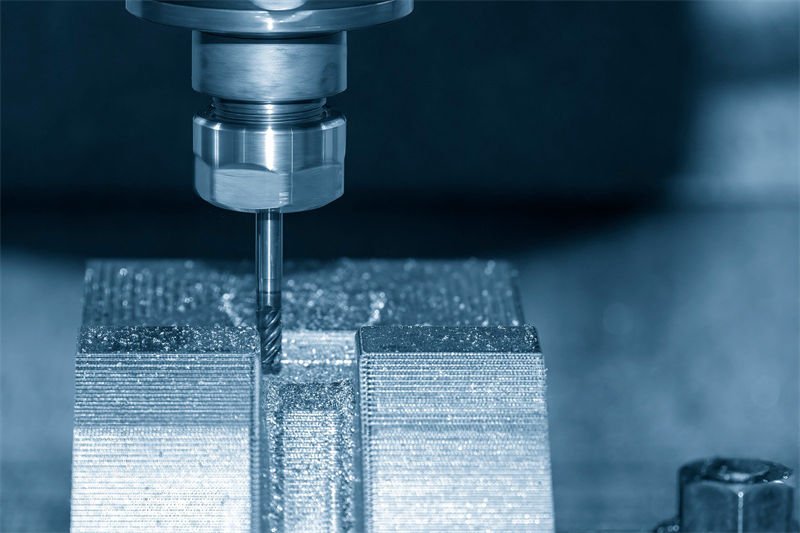
Mechanical Inaccuracies
One primary cause of backlash is the inherent mechanical inaccuracies2 during the manufacturing of components. Lead-screws and nuts are pivotal in the transmission system. Despite precision machining techniques, achieving an exact fit between these components is challenging. Tiny pitch errors or clearances between threads can introduce backlash.
Additionally, assembly missteps can exacerbate mechanical inaccuracies. For instance, if the lead-screw is not parallel to the guide rail, it results in uneven wear, increasing backlash.
Component Wear
Over time, the repetitive motion involved in milling leads to component wear3. Transmission parts such as lead-screws and nuts experience friction during operation, causing surfaces to degrade gradually. Frequent directional changes can accelerate this wear, loosening fits and amplifying backlash.
The guide rail and slider also suffer from wear and tear. A worn guide rail affects the precise movement of sliders, impacting overall accuracy when changing directions.
| Component | Cause of Wear | Impact |
|---|---|---|
| Lead-screw & Nut | Friction during movement | Increased backlash |
| Guide Rail & Slider | Continuous operational movement | Reduced movement accuracy |
Assembly Imperfections
Even with precise components, improper assembly can lead to increased backlash. Ensuring the correct alignment and tensioning of parts is critical. Misalignment during assembly can lead to larger-than-expected clearances and misfitting.
In some cases, inadequate pre-tensioning of components like the lead-screw-nut pair can lead to excessive clearances. A pre-tensioned double-nut structure can minimize this issue by adjusting the relative position of nuts to exert a stabilizing force.
Understanding these causes enables machinists to implement corrective measures, such as enhancing precision in component fabrication, maintaining regular inspections, and adopting meticulous assembly practices. Addressing these elements will significantly improve machine performance and reduce backlash effects.
Misalignment causes lead-screw wear.True
Misalignment leads to uneven wear, increasing backlash in milling machines.
Component wear reduces backlash.False
Wear increases clearances, leading to more backlash, not less.
How Can You Measure Backlash Accurately?
Accurate backlash measurement is essential for ensuring high precision in machining operations.
To measure backlash accurately, use tools like a ball-bar meter or dial indicator to assess displacement deviations during directional changes. Proper setup and calibration ensure precise readings, helping identify and correct machining errors.
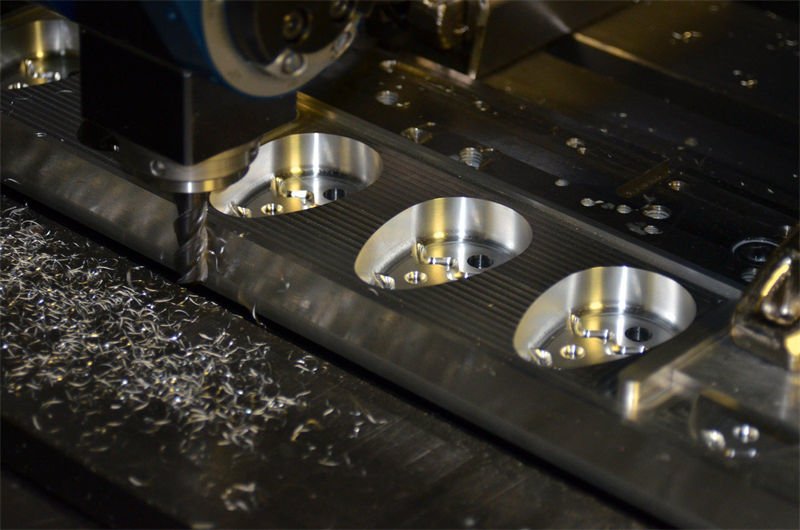
Understanding the Importance of Accurate Backlash Measurement
Accurate measurement of backlash is critical to maintaining the precision and efficiency of milling machines. Understanding the extent of backlash helps machinists make necessary adjustments to enhance machining accuracy4 and prolong the lifespan of machine components.
Tools and Techniques for Measuring Backlash
1. Ball-Bar Meter Method:
The ball-bar meter is a popular tool for measuring backlash in milling machines. Here’s how it works:
- Setup: Attach one end of the ball-bar to the worktable and the other to a fixed component like the spindle box.
- Alignment: Ensure the bar aligns parallel to the movement direction of the worktable.
- Calibration: Program the CNC system to move the table forward and backward.
- Measurement: As the table moves, the ball-bar records displacement deviations during direction changes, reflecting backlash size.
2. Dial Indicator Method:
The dial indicator offers a straightforward way to measure backlash:
- Installation: Secure the dial indicator’s probe against a moving part, such as the worktable.
- Procedure: Slowly move the table forward and then reverse it.
- Observation: Note the dial indicator’s needle movement; this distance indicates the backlash value.
Tips for Accurate Measurements
- Ensure Alignment: Both methods require precise alignment to avoid inaccurate measurements. Double-check all setups before proceeding.
- Calibrate Tools Regularly: Routine calibration of measuring tools is essential to maintain their accuracy over time.
- Document Findings: Keep a log of measurements to track changes over time and identify wear patterns or errors early.
Comparing Methods: Ball-Bar vs. Dial Indicator
| Method | Advantages | Considerations |
|---|---|---|
| Ball-Bar Meter | Offers comprehensive analysis; highly accurate | Requires calibration and understanding of CNC programming |
| Dial Indicator | Simple to use; quick setup | May not capture complex deviations as effectively |
Accurate backlash measurement provides valuable insights into the performance of milling machines. By utilizing effective tools and techniques, machinists can better understand their equipment’s behavior and make informed decisions to optimize precision and longevity.
Explore more about effective measurement tools5 that can aid in precision machining.
Ball-bar meter measures backlash in milling machines.True
The ball-bar meter is a popular tool for measuring backlash.
Dial indicators cannot measure backlash accurately.False
Dial indicators offer a straightforward way to measure backlash.
What Methods Can Reduce or Compensate for Backlash?
Reducing backlash is crucial to maintaining precision in milling operations, enhancing accuracy and surface quality.
Backlash can be reduced through mechanical adjustments like pre-tightening the lead-screw-nut pair and replacing worn components. CNC systems also offer compensation functions, using programmed parameters to adjust motion commands and improve machining accuracy.
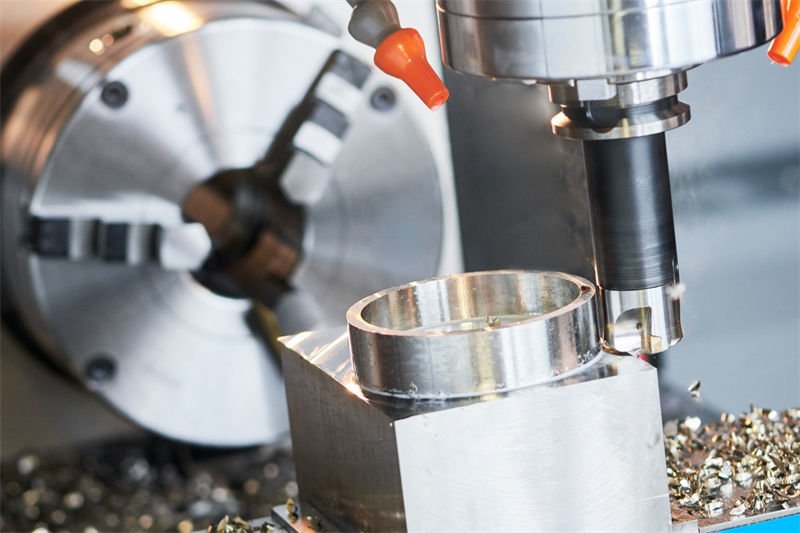
Mechanical Adjustment Techniques
One of the most direct approaches to reducing backlash is mechanical adjustment. The lead-screw-nut pair is critical in this regard. By pre-tightening the lead-screw-nut pair6, the clearance between these components can be minimized, resulting in less backlash. For machines with a double-nut structure, adjusting the nuts’ relative position applies a pre-tension force to the lead-screw, effectively reducing unwanted play.
In addition, worn components such as guide rails and sliders can be repaired or replaced. The process of scraping and lapping7 restores the guide rail surface to its original precision, ensuring a snug fit with high-precision sliders. This refurbishment or replacement reduces backlash significantly.
| Mechanical Adjustment | Description |
|---|---|
| Lead-Screw-Nut Pre-Tightening | Adjust nuts for pre-tension force to minimize clearance. |
| Component Replacement | Replace worn sliders and repair guide rails through scraping. |
CNC System Compensation
Modern CNC milling machines often include a backlash compensation function. This feature allows for precise input of measured backlash values into the CNC system’s parameter settings. Once set, the system automatically adjusts motion commands based on these parameters during machining.
The process typically involves using tools like a ball-bar meter or dial gauge to measure the actual backlash value8. Entering this data into the CNC system allows it to pre-compensate when the machine changes direction, enhancing machining accuracy and minimizing backlash effects.
- Utilizing Compensation Function: Measure and input backlash values accurately into the CNC system for automatic motion adjustment.
These methods, when applied correctly, can significantly mitigate backlash, leading to improved dimensional accuracy and surface quality in milling operations.
Pre-tightening lead-screw-nut reduces backlash.True
Pre-tightening minimizes clearance, reducing unwanted movement and backlash.
CNC compensation doesn't improve machining accuracy.False
CNC systems use compensation to adjust motion, enhancing accuracy.
Conclusion
Addressing backlash is vital for precision and quality in machining. By understanding its causes and implementing reduction measures, machinists can enhance their processes. Reflect on your setup to improve accuracy today.
-
Discover how backlash impacts milling machine precision and strategies for reduction.: Backlash creates an issue in positioning when an axis changes direction. The slack in the threads/gears cause measureable error in axis positioning. ↩
-
Explore how inaccuracies impact backlash precision.: If the ruler edge was flat and in level, the thread was cut to the same accuracy as the old lathe lead screw had. ( The modified nut didn’t … ↩
-
Learn about wear’s role in increasing backlash.: The cobalt eventually wears out of the matrix. This reduces the adhesion of the carbide grains, causing them to break away as well. At higher cutting speeds, … ↩
-
Learn how precise backlash readings enhance machining accuracy.: Backlash compensation will improve positioning accuracy but will not alleviate vibration or mechanical performance. If you are experiencing … ↩
-
Discover top tools for precise backlash measurement in milling tasks.: The easiest way to check is to put the machine in jog-increment mode and set it to 0.1 mm or 0.01" increment. Move the axis 10 or so steps in … ↩
-
Learn the steps to reduce backlash by pre-tightening components.: On the motor end tighten the flex coupler on the screw and pull it against the thrust bearing. Put the nut on the other end and tighten the … ↩
-
Discover methods to refurbish guide rails and reduce backlash.: What happens is that the lapping abrasive embeds in the soft material and abrades the harder material. For most applications the abrasive is … ↩
-
Find out how to accurately measure backlash for CNC input.: How to measure backlash on your mill, and then enable backlash compensation in Mach3 … ↩


