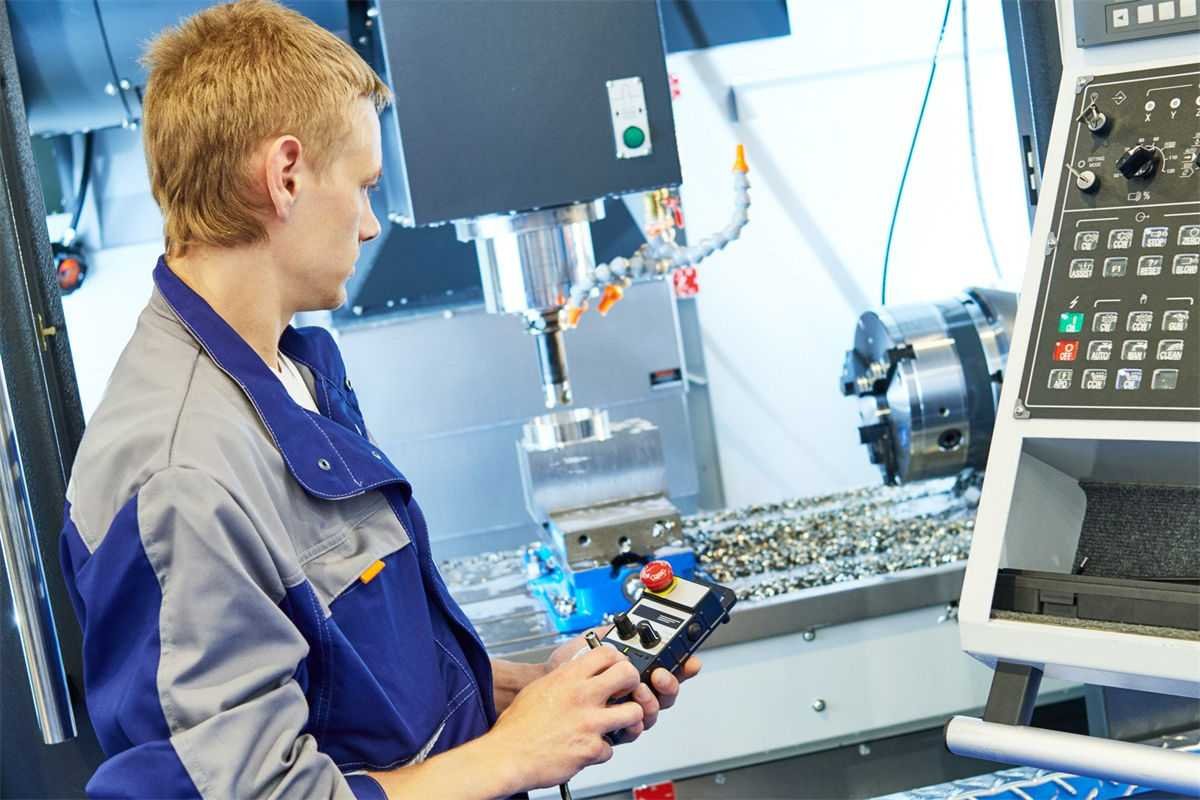
Navigating the world of milling machines can be overwhelming, especially when it comes to adjusting depth. But trust me, mastering this skill can elevate your precision and confidence!
To accurately adjust the depth on a milling machine, use the lifting handle for manual machines or program settings for CNC machines. These methods ensure precise depth control, crucial for achieving accurate and consistent machining results.
But there’s so much more beneath the surface! Dive deeper into these sections where I share invaluable tips and insights to truly refine your milling techniques.
Using the lifting handle ensures precise depth control.True
The lifting handle allows fine adjustments with a scale dial for precision.
What Are the Common Methods for Manual Depth Adjustment?
When operating a milling machine, manually adjusting the depth is crucial for precision. Mastering this skill ensures optimal machining outcomes.
Common manual depth adjustment methods include using the lifting handle and adjusting tool installation height. These techniques allow precise control over cutting depth in conventional milling machines, ensuring accurate machining results.
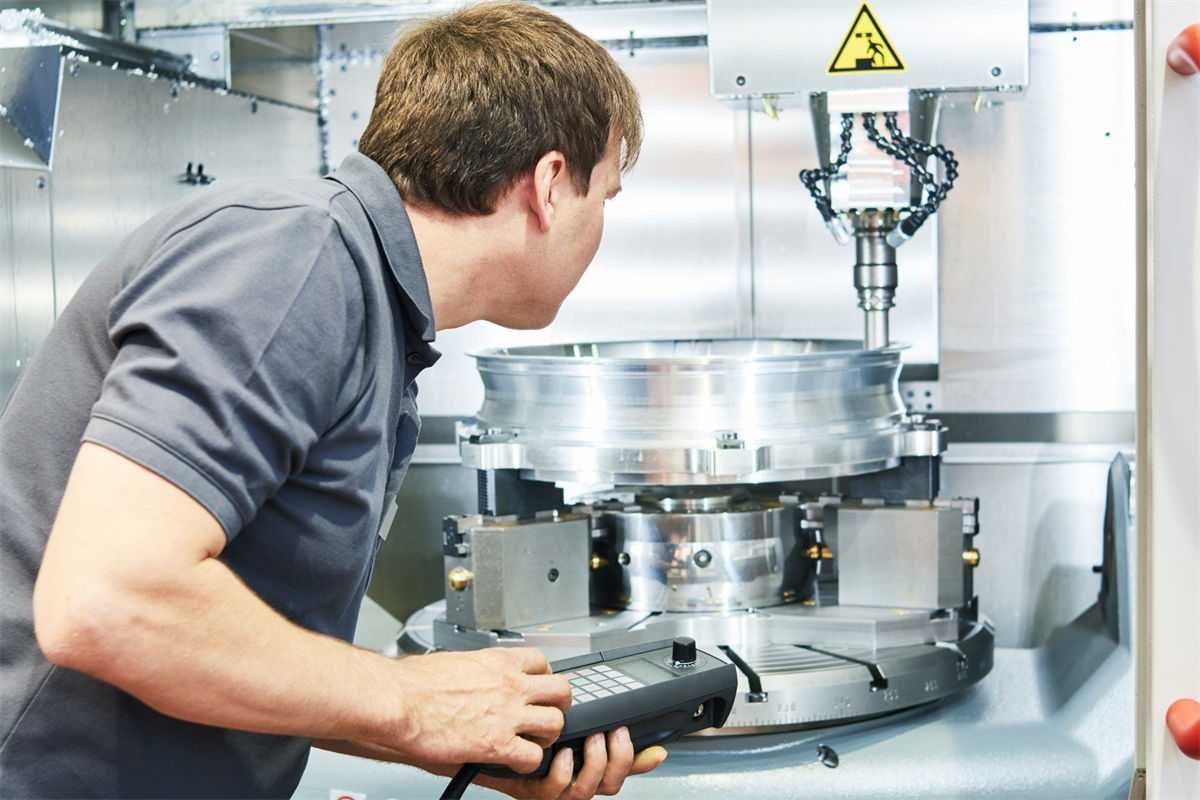
Manual Adjustment Techniques for Conventional Milling Machines: A Comprehensive Exploration
Conventional milling machines have long been a staple in machining operations, and their effective utilization hinges on the mastery of manual adjustment techniques. These techniques, which require hands-on manipulation of the machine’s components, are fundamental to achieving the desired cutting depth and, ultimately, high-quality machined parts:
-
Using the Lifting Handle: A Fundamental and Precise Method: The lifting handle is a ubiquitous feature on many conventional milling machines and serves as a primary means of adjusting the cutting depth. When an operator rotates the lifting handle, a series of mechanical linkages and gears within the machine are engaged. This action induces a controlled vertical displacement of the worktable along the Z-axis. The Z-axis, being perpendicular to the plane of the workpiece, is crucial as it determines the depth at which the cutting tool will interact with the material.
-
To ensure a high level of precision during this adjustment, the scale dial comes into play. The scale dial is meticulously calibrated and is an essential visual aid for the operator. It provides a quantitative measure of the worktable’s vertical position. The accuracy of the scale dial can vary from machine to machine, typically falling within the range of 0.02 to 0.1 millimeters per division. This level of precision is remarkable considering the mechanical nature of the adjustment. For instance, in applications where micro-machining or the production of components with extremely tight tolerances is required, such as in the manufacturing of precision molds or components for high-end electronics, the operator must rely heavily on the accurate reading and manipulation of the lifting handle and its associated scale dial.
-
Moreover, the operator’s skill and familiarity with the machine play a significant role in achieving optimal results. Experienced operators develop a keen sense of touch and an acute visual perception that allows them to make minute adjustments with confidence. They understand the relationship between the rotation of the lifting handle and the corresponding movement of the worktable, and can anticipate the impact on the cutting depth. This proficiency is often developed over years of hands-on experience and continuous practice.
-
Adjusting the Tool Installation Height: Another method involves altering the tool’s position on the spindle. Although this can quickly change cutting depth, it’s less precise than using the lifting handle. After adjusting, it may be necessary to recalibrate the tool to ensure proper alignment and machining accuracy.
Key Considerations for Effective Manual Adjustment
When it comes to performing manual adjustments on machinery, especially in precision-dependent applications like milling or other machining processes, a comprehensive understanding and strict adherence to several key factors are essential to maintain the highest level of precision. These considerations go beyond the basic steps and play a crucial role in ensuring that the final output meets the exacting standards of quality and accuracy:
-
Dial Accuracy: The Foundation of Precise Adjustments: The accuracy of the scale dial is of utmost importance and serves as the cornerstone for any successful manual adjustment operation. Before commencing work on the machine, it is not enough to simply glance at the dial; rather, a meticulous inspection process should be carried out. This involves verifying that the scale dial has been calibrated correctly according to the manufacturer’s specifications.
-
Manufacturers usually provide detailed calibration guidelines, which might include procedures for zeroing the dial, checking for any mechanical misalignment within the dial mechanism itself, and ensuring that the graduations on the dial accurately represent the actual movement of the machine component it is measuring (such as the Z-axis movement of the worktable in a milling machine). In some cases, environmental factors like temperature and humidity can also impact the accuracy of the dial. For instance, in a workshop with significant temperature variations throughout the day, materials within the dial’s components might expand or contract slightly, potentially leading to errors in measurement.
-
To avoid depth errors that could have a cascading effect on the entire machining process and result in defective products, operators should use precision measuring tools in conjunction with the scale dial. For example, they can employ calibrated gauges to cross-check the readings on the dial at various positions of the machine’s movement. If any discrepancies are found between the dial reading and the actual position measured by the gauge, immediate recalibration of the dial is necessary. This might involve adjusting internal mechanical components, tightening loose connections, or even replacing worn-out parts of the dial mechanism to restore its accuracy.
-
Tool Stability: A Prerequisite for Consistent Depth Settings: Ensuring tool stability is another critical factor that cannot be overlooked when aiming for high precision in manual adjustments. Tools that are not securely fastened can lead to a host of problems during the machining process, with slippage being one of the most common and detrimental ones.
-
When a tool slips within its holder or on the spindle, it disrupts the carefully calculated depth settings that have been adjusted either through methods like using the lifting handle or adjusting the tool installation height. The slightest amount of slippage can translate into significant inaccuracies in the cutting depth. For example, in a milling operation where a precise depth of 0.1mm is required for creating a specific feature on a workpiece, even a slippage of just a fraction of a millimeter can cause the feature to be either too shallow or too deep, ruining the overall integrity of the part.
-
To achieve optimal tool stability, operators need to pay close attention to the clamping mechanisms used to secure the tools. Different types of tools and machining operations may require specific clamping devices. For instance, in high-speed milling applications, specialized hydraulic or pneumatic clamping systems might be employed to provide a more consistent and secure grip on the tool. Regular inspection and maintenance of these clamping mechanisms are also essential. This includes checking for wear and tear on the clamping jaws, ensuring that the clamping pressure is within the recommended range, and verifying that there are no debris or contaminants that could interfere with the proper functioning of the clamping system.
-
Moreover, the quality of the tool shank and its compatibility with the tool holder or spindle are vital aspects. A precisely machined tool shank with tight tolerances that fits snugly into the corresponding holder will minimize the risk of slippage. In some cases, using anti-slip coatings or inserts on the tool shank can further enhance the stability of the tool during operation.
-
Recalibration Needs: Ensuring Alignment with Machining Specifications: After any manual adjustment has been made, whether it’s altering the position of the worktable along the Z-axis or changing the tool installation height, there is always a possibility that the tools may no longer be aligned with the machining specifications as intended. This is where the importance of recognizing and fulfilling recalibration needs comes into play.
-
The machining process is a complex interplay of various components and settings, and even a minor adjustment can throw off the delicate balance that ensures accurate and consistent results. For example, when adjusting the tool installation height, as mentioned earlier, there could be slight variations in the alignment of the tool due to factors like the fit within the spindle or human error during the adjustment process. These variations might not be immediately apparent but can have a significant impact on the quality of the machined part.
-
To address this, a systematic recalibration process should be implemented. This typically involves using advanced measuring instruments such as precision dial indicators, laser alignment tools, or coordinate measuring machines (CMMs). These tools can accurately measure the position and alignment of the tool in multiple dimensions, including axial and radial alignments. Based on the measurements obtained, precise adjustments can be made to bring the tool back into alignment with the desired machining specifications.
-
In addition, documentation of the recalibration process is crucial. Operators should record details such as the initial readings before adjustment, the adjustments made, and the final calibrated readings. This documentation not only helps in tracking the performance of the machine and tools over time but also serves as a reference for future adjustments and maintenance activities. It allows for quick identification of any recurring issues or trends that might indicate a need for further improvements in the adjustment or calibration procedures.
-
In conclusion, the considerations of dial accuracy, tool stability, and recalibration needs are intertwined and form a comprehensive framework for effective manual adjustment. By meticulously addressing each of these aspects, operators can significantly enhance the precision and reliability of their machining operations, resulting in high-quality products that meet the stringent requirements of various industries.
Practical Example: Adjusting Depth with the Lifting Handle
Consider a scenario where you need to adjust a milling cutter’s depth using a lifting handle:
| Step | Action | Consideration |
|---|---|---|
| 1 | Position the worktable | Ensure it’s stable and centered |
| 2 | Rotate the lifting handle | Refer to scale dial for precision |
| 3 | Verify depth accuracy | Use a depth gauge if necessary |
By following these steps, you ensure precise and consistent machining outcomes.
Manual methods for depth adjustment1 are vital skills for machinists working with conventional setups. They offer direct control over the machining process, allowing for adjustments tailored to specific project needs.
Using the lifting handle offers precision to 0.1mm.True
The lifting handle allows adjustments with a scale dial, accurate to 0.1mm.
Adjusting tool height is more precise than using the handle.False
Tool height adjustment is less precise and requires recalibration.
How Does CNC Programming Influence Depth Control?
CNC programming significantly enhances depth control in milling by automating precision and efficiency. Understanding this influence is key to mastering CNC machining.
CNC programming affects depth control by utilizing precise G-code commands to automate tool movements along the Z-axis, ensuring consistent and accurate cuts.
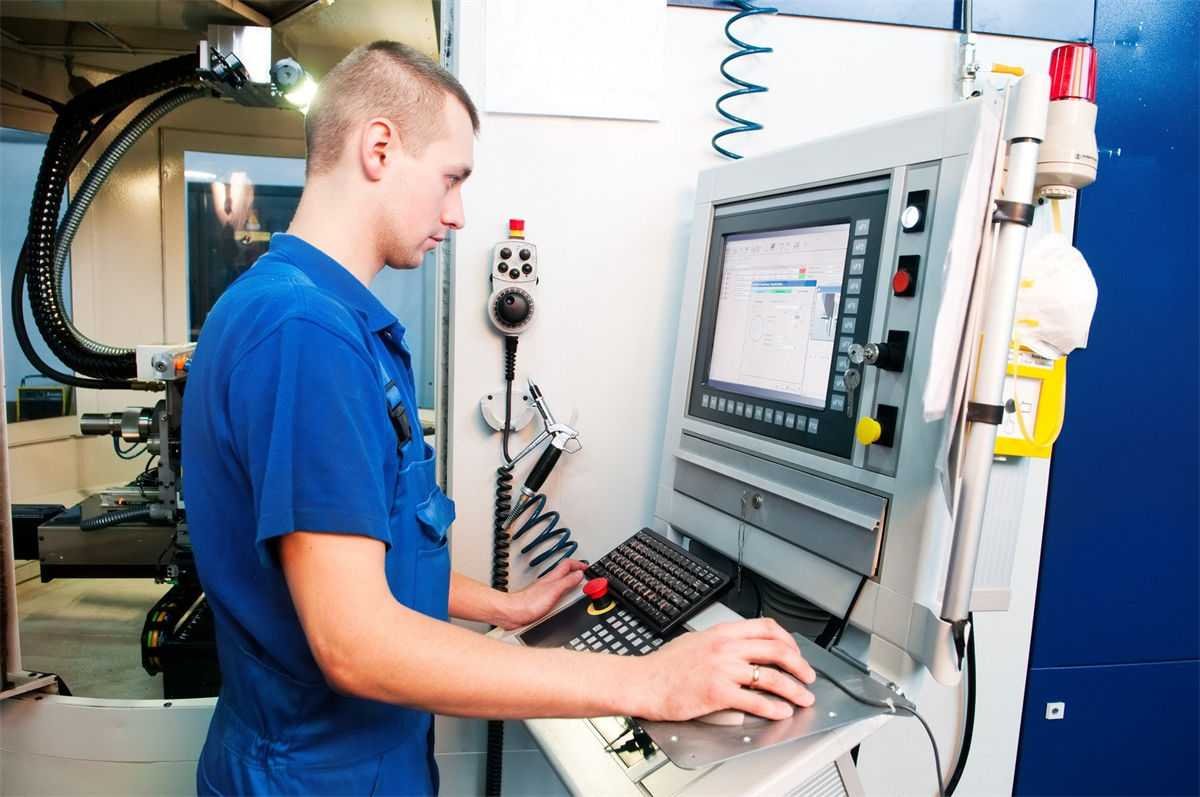
The Role of G-code in Depth Control
In CNC milling, the G-code commands are essential for controlling the movement of tools, especially in the Z-axis, which determines the depth of the cut. Specific codes like G01 allow for linear interpolation movements, letting the operator set precise depth parameters. For example, a command such as G01 Z-5.0 F100 directs the tool to move 5mm downwards at a feed rate of 100, ensuring uniform depth across the workpiece.
Importance of Tool Path Planning
Accurate tool path planning ensures that depth control is not just precise but also efficient. By simulating the tool path beforehand, operators can anticipate potential issues such as tool deflection or collision, which can affect depth accuracy. This planning often involves software that can simulate the CNC machining process, highlighting areas where adjustments might be necessary.
Tool Compensation Techniques
Tool compensation is a crucial feature in CNC programming that helps refine depth control. When discrepancies between the programmed and actual cutting depth occur, adjustments can be made without altering the original program. By modifying the tool length compensation2 values, operators can correct any deviation in real-time, achieving precise depth consistently.
The Impact of Advanced Software
Modern CNC machines often come equipped with advanced software that enhances depth control. These programs offer capabilities such as adaptive clearing and toolpath optimization, which automatically adjust depth in response to material properties or tool wear. This adaptability reduces machining time while maintaining high precision.
A comparison of traditional methods and CNC programming techniques shows significant improvements:
| Traditional Method | CNC Programming Technique |
|---|---|
| Manual adjustment | Automated G-code commands |
| Inconsistent accuracy | Precision through simulation |
| Time-consuming | Efficient depth adjustments |
By leveraging these advanced techniques, machinists can achieve unparalleled accuracy and efficiency in depth control, a testament to the transformative impact of CNC programming.
G-code automates depth control in CNC milling.True
G-code commands automate precise tool movements along the Z-axis.
Manual adjustments ensure better depth control than CNC programming.False
CNC programming offers more precision and efficiency than manual methods.
Why Is Tool Compensation Important in CNC Milling?
In CNC milling, tool compensation is crucial for precision and efficiency. It adjusts for tool wear, inaccuracies, and design changes.
Tool compensation in CNC milling adjusts for tool wear and dimensional deviations, ensuring precision and efficiency. By fine-tuning tool length and radius, it maintains consistent cutting quality without altering the main program.
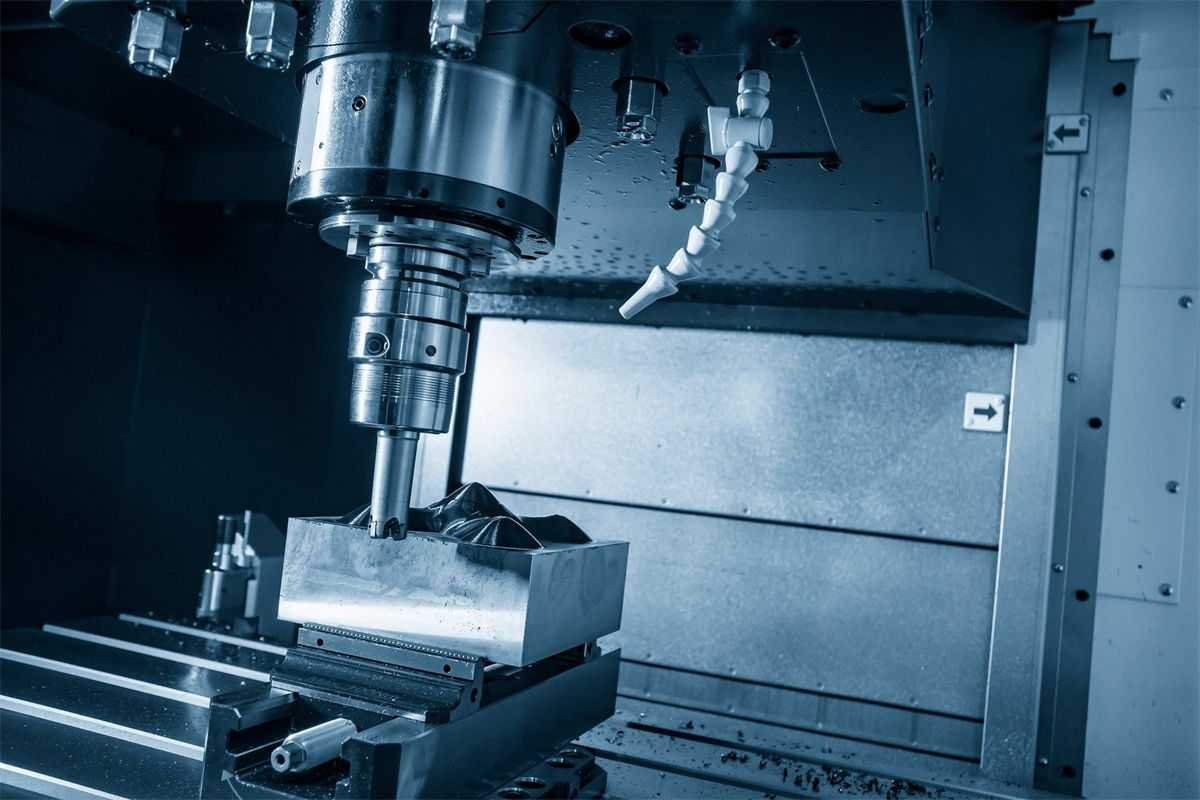
Understanding Tool Compensation in CNC Milling
In the realm of CNC milling, tool compensation3 is indispensable for maintaining precision and efficiency. As tools wear over time, their dimensions can deviate from their original specifications, which can lead to inaccuracies in the machined parts. Tool compensation addresses these deviations, ensuring that each cut remains true to the intended design.
Tool compensation primarily involves two key aspects:
-
Tool Length Compensation: This corrects for changes in the tool’s axial length. When a tool wears down, its effective length changes, potentially altering the depth of cuts. By adjusting the tool length compensation value, operators can ensure that the tool’s cutting edge reaches the precise depth specified in the design.
-
Radius Compensation: This adjusts for the radial wear of the tool, affecting the width of cuts. As the cutting edge wears down, the tool’s effective radius diminishes, which can affect the dimensions of features on a part. By modifying radius compensation values, operators can maintain the correct feature dimensions without needing to change the entire CNC program.
The Role of Tool Compensation in Precision
Precision is paramount in CNC milling, especially when producing complex components that must meet tight tolerances. Tool compensation allows operators to make real-time adjustments that account for both gradual and sudden changes in tool geometry.
For instance, during a long machining operation, even minute wear on a cutting edge can accumulate to create significant deviations from desired specifications. By employing tool compensation, these deviations can be corrected promptly, ensuring that every component meets its design criteria.
Enhancing Efficiency Through Tool Compensation
Not only does tool compensation enhance precision, but it also significantly improves machining efficiency. Rather than halting operations to replace worn tools or rewrite programs, operators can simply adjust compensation values. This flexibility minimizes downtime and keeps production running smoothly.
Moreover, tool compensation enables quick adaptation to design changes or material variations without extensive program modifications. This adaptability is particularly beneficial in industries where rapid prototyping and iterative design are common.
Practical Examples and Implementation
To illustrate the impact of tool compensation, consider a scenario where a batch of components requires uniform depth cuts despite varying tool wear. By setting up initial tool length compensation values based on expected wear rates and adjusting them periodically throughout production, manufacturers can consistently achieve high-quality results.
Another practical application involves using tool radius compensation when machining intricate features such as pockets or grooves. Adjusting the radius ensures that these features meet their specified dimensions even as tools gradually wear down.
In summary, tool compensation is a critical factor in CNC milling that ensures precision and efficiency while accommodating inevitable tool wear and material inconsistencies. By leveraging its capabilities, manufacturers can maintain consistent quality and streamline their production processes.
Tool compensation adjusts for tool wear in CNC milling.True
Tool compensation corrects deviations from tool wear, ensuring precision.
CNC milling requires program changes for every tool wear.False
Tool compensation allows adjustments without altering the main program.
What Tips Can Enhance Precision in Milling Operations?
Precision in milling operations is crucial for producing high-quality parts. Discover key tips to refine your machining accuracy and efficiency.
Enhance precision in milling by ensuring proper machine calibration, using appropriate tooling, and maintaining optimal operating conditions. Regular checks and adjustments minimize errors and increase consistency.
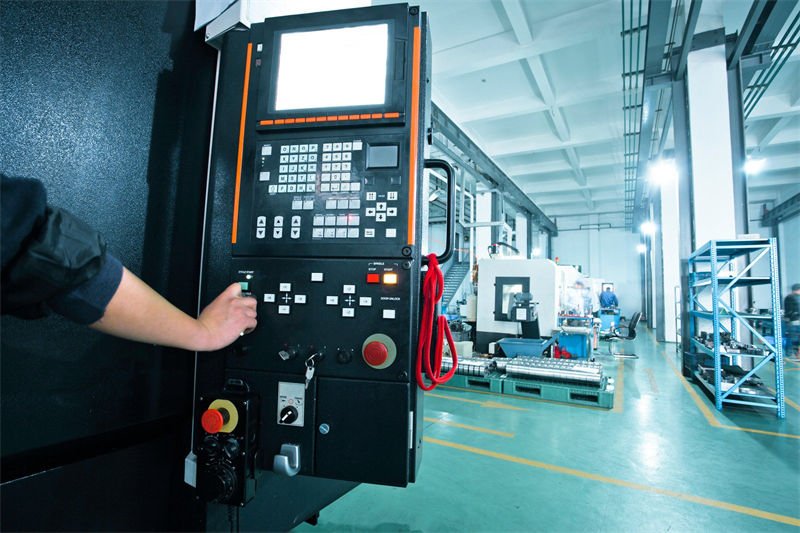
Ensure Proper Machine Calibration
Before starting any milling operation, ensure that your machine is correctly calibrated. Calibration involves verifying and adjusting the machine’s components to align with precise standards. Regular calibration checks prevent deviations that could lead to inaccuracies in your final product. For instance, use a dial indicator to check the spindle runout and adjust if necessary.
Select the Right Tooling
Using the right tool for the job is paramount. Consider factors such as material hardness, cutting speed, and tool geometry. Opt for high-performance tools that maintain sharpness longer and reduce vibration. For example, carbide end mills are often preferred for their durability and ability to withstand high-speed operations.
Maintain Optimal Operating Conditions
Maintaining a stable environment for your milling operations can significantly enhance precision. Factors like temperature fluctuations can affect machine components and lead to expansion or contraction, impacting accuracy. Implementing climate control solutions in your workshop can mitigate these issues.
Implement Regular Maintenance Practices
Routine maintenance keeps your milling machine in top condition, ensuring consistent performance. Regularly check for wear and tear on components like bearings and slides, and replace them as needed. Lubricate moving parts to reduce friction and wear.
Utilize Advanced Software Solutions
Leverage advanced CAM software for precise programming of CNC machines. These programs offer simulations that allow you to visualize the tool path and make necessary adjustments before actual machining begins.
Table: Precision Tips Checklist
| Tip | Description |
|---|---|
| Machine Calibration | Regular checks and adjustments ensure component alignment. |
| Tool Selection | Choose tools based on material properties and required precision levels. |
| Operating Conditions | Stabilize environmental factors to prevent material expansion/contraction. |
| Maintenance Practices | Routine checks and lubrication extend machine life and accuracy. |
| Software Utilization | Use CAM software for accurate programming and simulation before machining. |
By ensuring proper calibration4, selecting the right tooling, maintaining optimal conditions, practicing regular maintenance, and utilizing advanced software solutions, you can greatly enhance the precision of your milling operations.
Regular calibration checks prevent machining inaccuracies.True
Calibration aligns machine components, reducing deviations.
Carbide end mills are unsuitable for high-speed operations.False
Carbide end mills are preferred for their durability at high speeds.
Conclusion
Mastering both manual and CNC methods for depth adjustment will enhance your machining precision and efficiency. Embrace these techniques for optimal results!
-
Explore detailed guides and tips on manual depth adjustment.: Manual Mill setting a repeatable drill depth. Andrew Dahlen•445 views … I will show you how to … ↩
-
Learn how to adjust cutting depths without reprogramming.: Tool Length Compensation is a form of cutter compensation. Closely related is Tool Radius Compensation, which uses the G41 and G42 g-codes. When … ↩
-
Explore detailed insights on maintaining precision through tool adjustments.: Cutter compensation allows for precise adjustments in CNC machining, ensuring accuracy and quality in the manufacturing process. It enables … ↩
-
Learn essential steps for precise machine calibration.: For routers and milling machines, tool length can be calibrated for manually or automatically by using a tool setter or a simple touch plate. ↩


